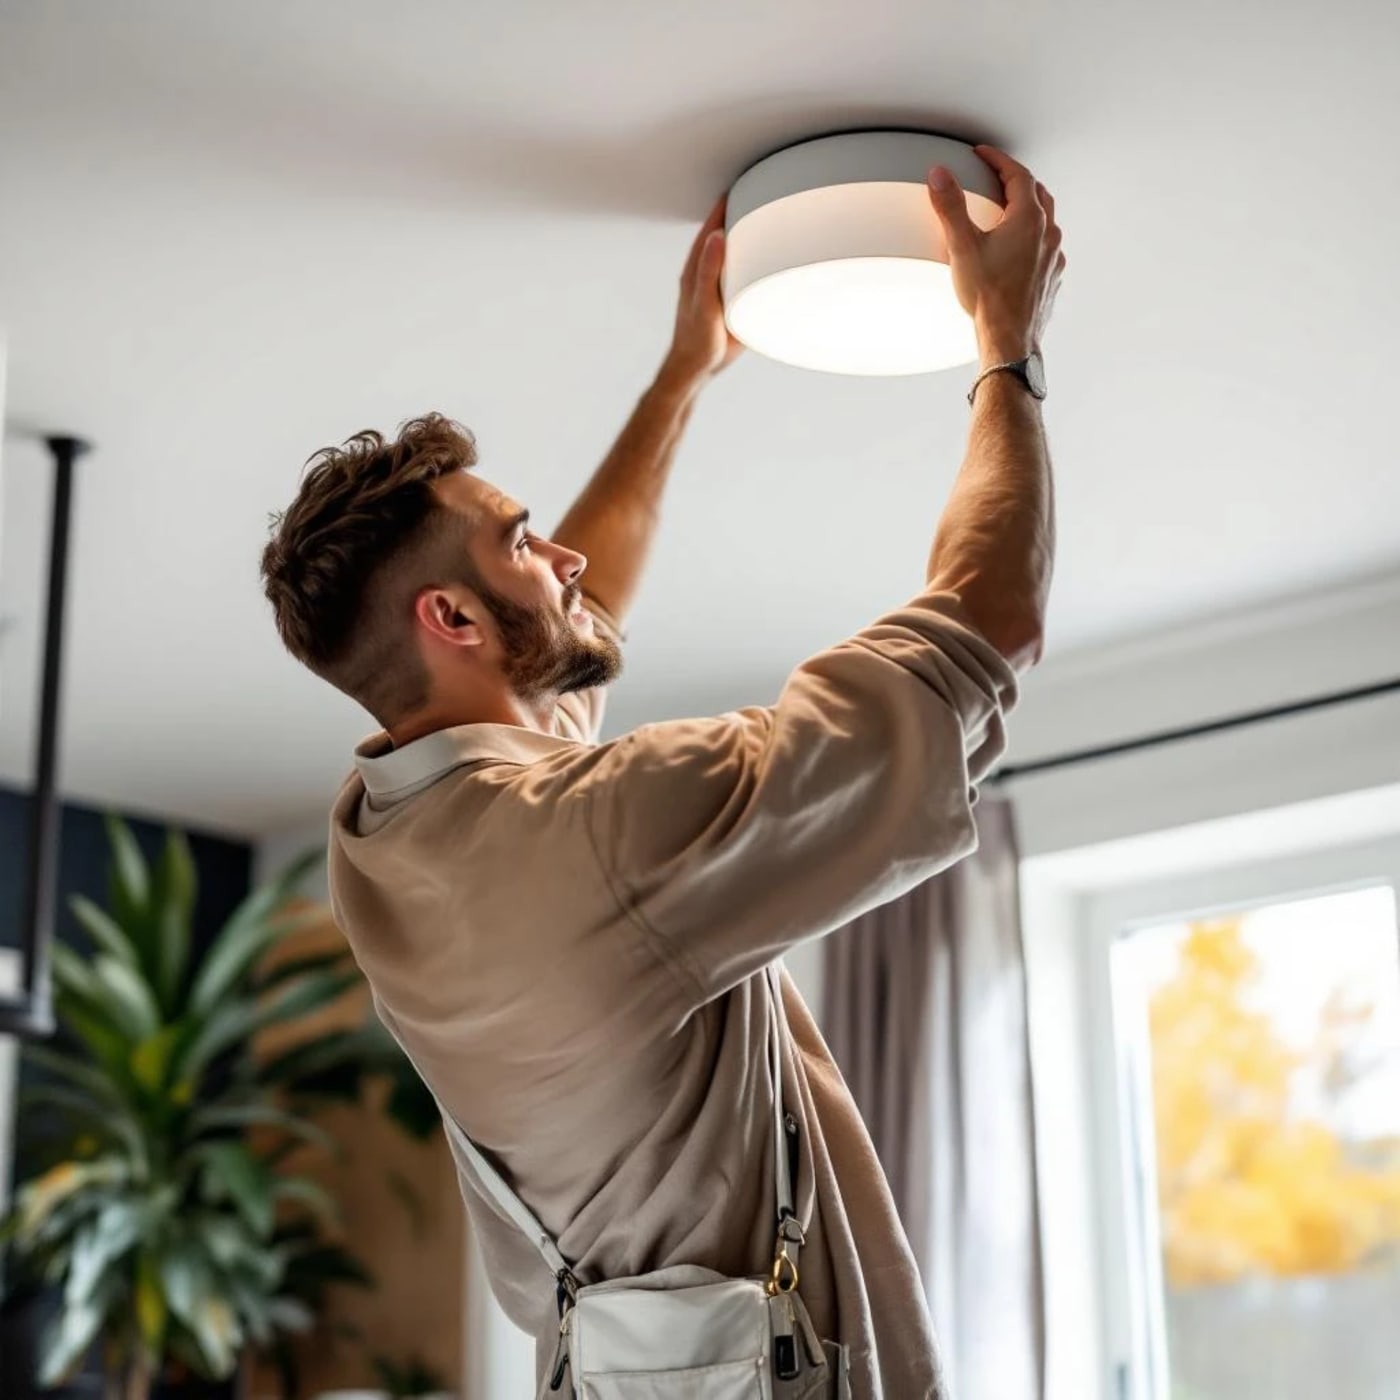
How to Change a Light Fitting
Yes, you can do this yourself. Here's how to do it safely in your new build.
5 min readIs it safe to change a light fitting yourself?
The short answer: yes, as long as you're swapping like-for-like. Replacing one ceiling pendant with another ceiling pendant is perfectly legal and safe for a competent DIYer in the UK. You don't need an electrician for this — it's specifically excluded from Part P Building Regulations.
What you cannot do yourself: add new light fittings where none existed before, install downlights, add circuits, or do any work in a bathroom. These all require a Part P qualified electrician.
What you legally can and cannot do
DIY is fine for:
- Swapping a ceiling pendant for another ceiling pendant
- Changing a wall light for another wall light (same location)
- Replacing a light switch for a dimmer switch
- Changing lightbulbs (obviously)
You need a Part P electrician for:
- Adding new light fixtures where none existed
- Installing recessed downlights (involves cutting into the ceiling)
- Any electrical work in a bathroom or within 3m of a bath/shower
- Adding outdoor lighting (new circuits)
- Installing a new circuit or consumer unit changes
Step by step: swapping a ceiling pendant
Step 1: Turn off the power. Switch off the lighting circuit at your consumer unit (fuse box). Not just the light switch — the circuit breaker. Test that the light no longer works. In new builds, circuits are clearly labelled.
Step 2: Remove the old fitting. Unscrew the ceiling rose cover. You'll see wires connected to a terminal block — typically a brown (live), blue (neutral), and green/yellow (earth). Note which wire goes where, or take a photo.
Step 3: Disconnect the wires. Loosen the terminal screws and carefully remove the wires. Support the old fitting so it doesn't drop.
Step 4: Connect the new fitting. Follow the new fitting's instructions. Connect brown to live (L), blue to neutral (N), and green/yellow to earth (E). Tighten each terminal firmly — loose connections are the most common cause of problems.
Step 5: Secure the fitting. Attach the new fitting to the ceiling — most use a bracket that screws into the existing ceiling rose mounting point. Make sure no wires are pinched.
Step 6: Test. Turn the circuit back on at the consumer unit. Flick the light switch. Done.
Tools you need
- Flathead and Phillips screwdrivers
- Wire strippers (if the new fitting needs shorter wires)
- A voltage tester (£5-£10 from any hardware shop — essential for confirming the power is off)
- A step ladder
- Electrical tape
- Someone to hold the fitting while you connect wires (useful, not essential)
Safety checklist
- Always turn off at the consumer unit, not just the light switch
- Always test with a voltage tester before touching any wires
- Never work on electrics in a bathroom yourself
- Never exceed the fitting's maximum wattage rating
- If in any doubt — stop and call an electrician
When to call an electrician instead
If your new build has unusual wiring (some do — loop-in systems, extra earth wires, or multiple cables at the ceiling rose), don't guess. If the new fitting is significantly heavier than the old one (a heavy chandelier replacing a lightweight pendant), the ceiling mount may need reinforcing. If you want downlights, spot lighting, or any change to the number of fittings — that's electrician territory.
Need a qualified electrician?
Post a job for free and get quotes from Part P certified electricians near you.
Post a Job — FreeRecommended Products
 AD
ADAooshine Touch Table Lamp Grey USB
£14.98
 AD
ADEDISHINE Up Down Outside Wall Lights 2-Pack
£27.99
 AD
ADPhilips Hue Starter Kit E27 — 2 Bulbs + Button
£103.72
 AD
ADAooshine Modern Floor Lamp Black
£29.99
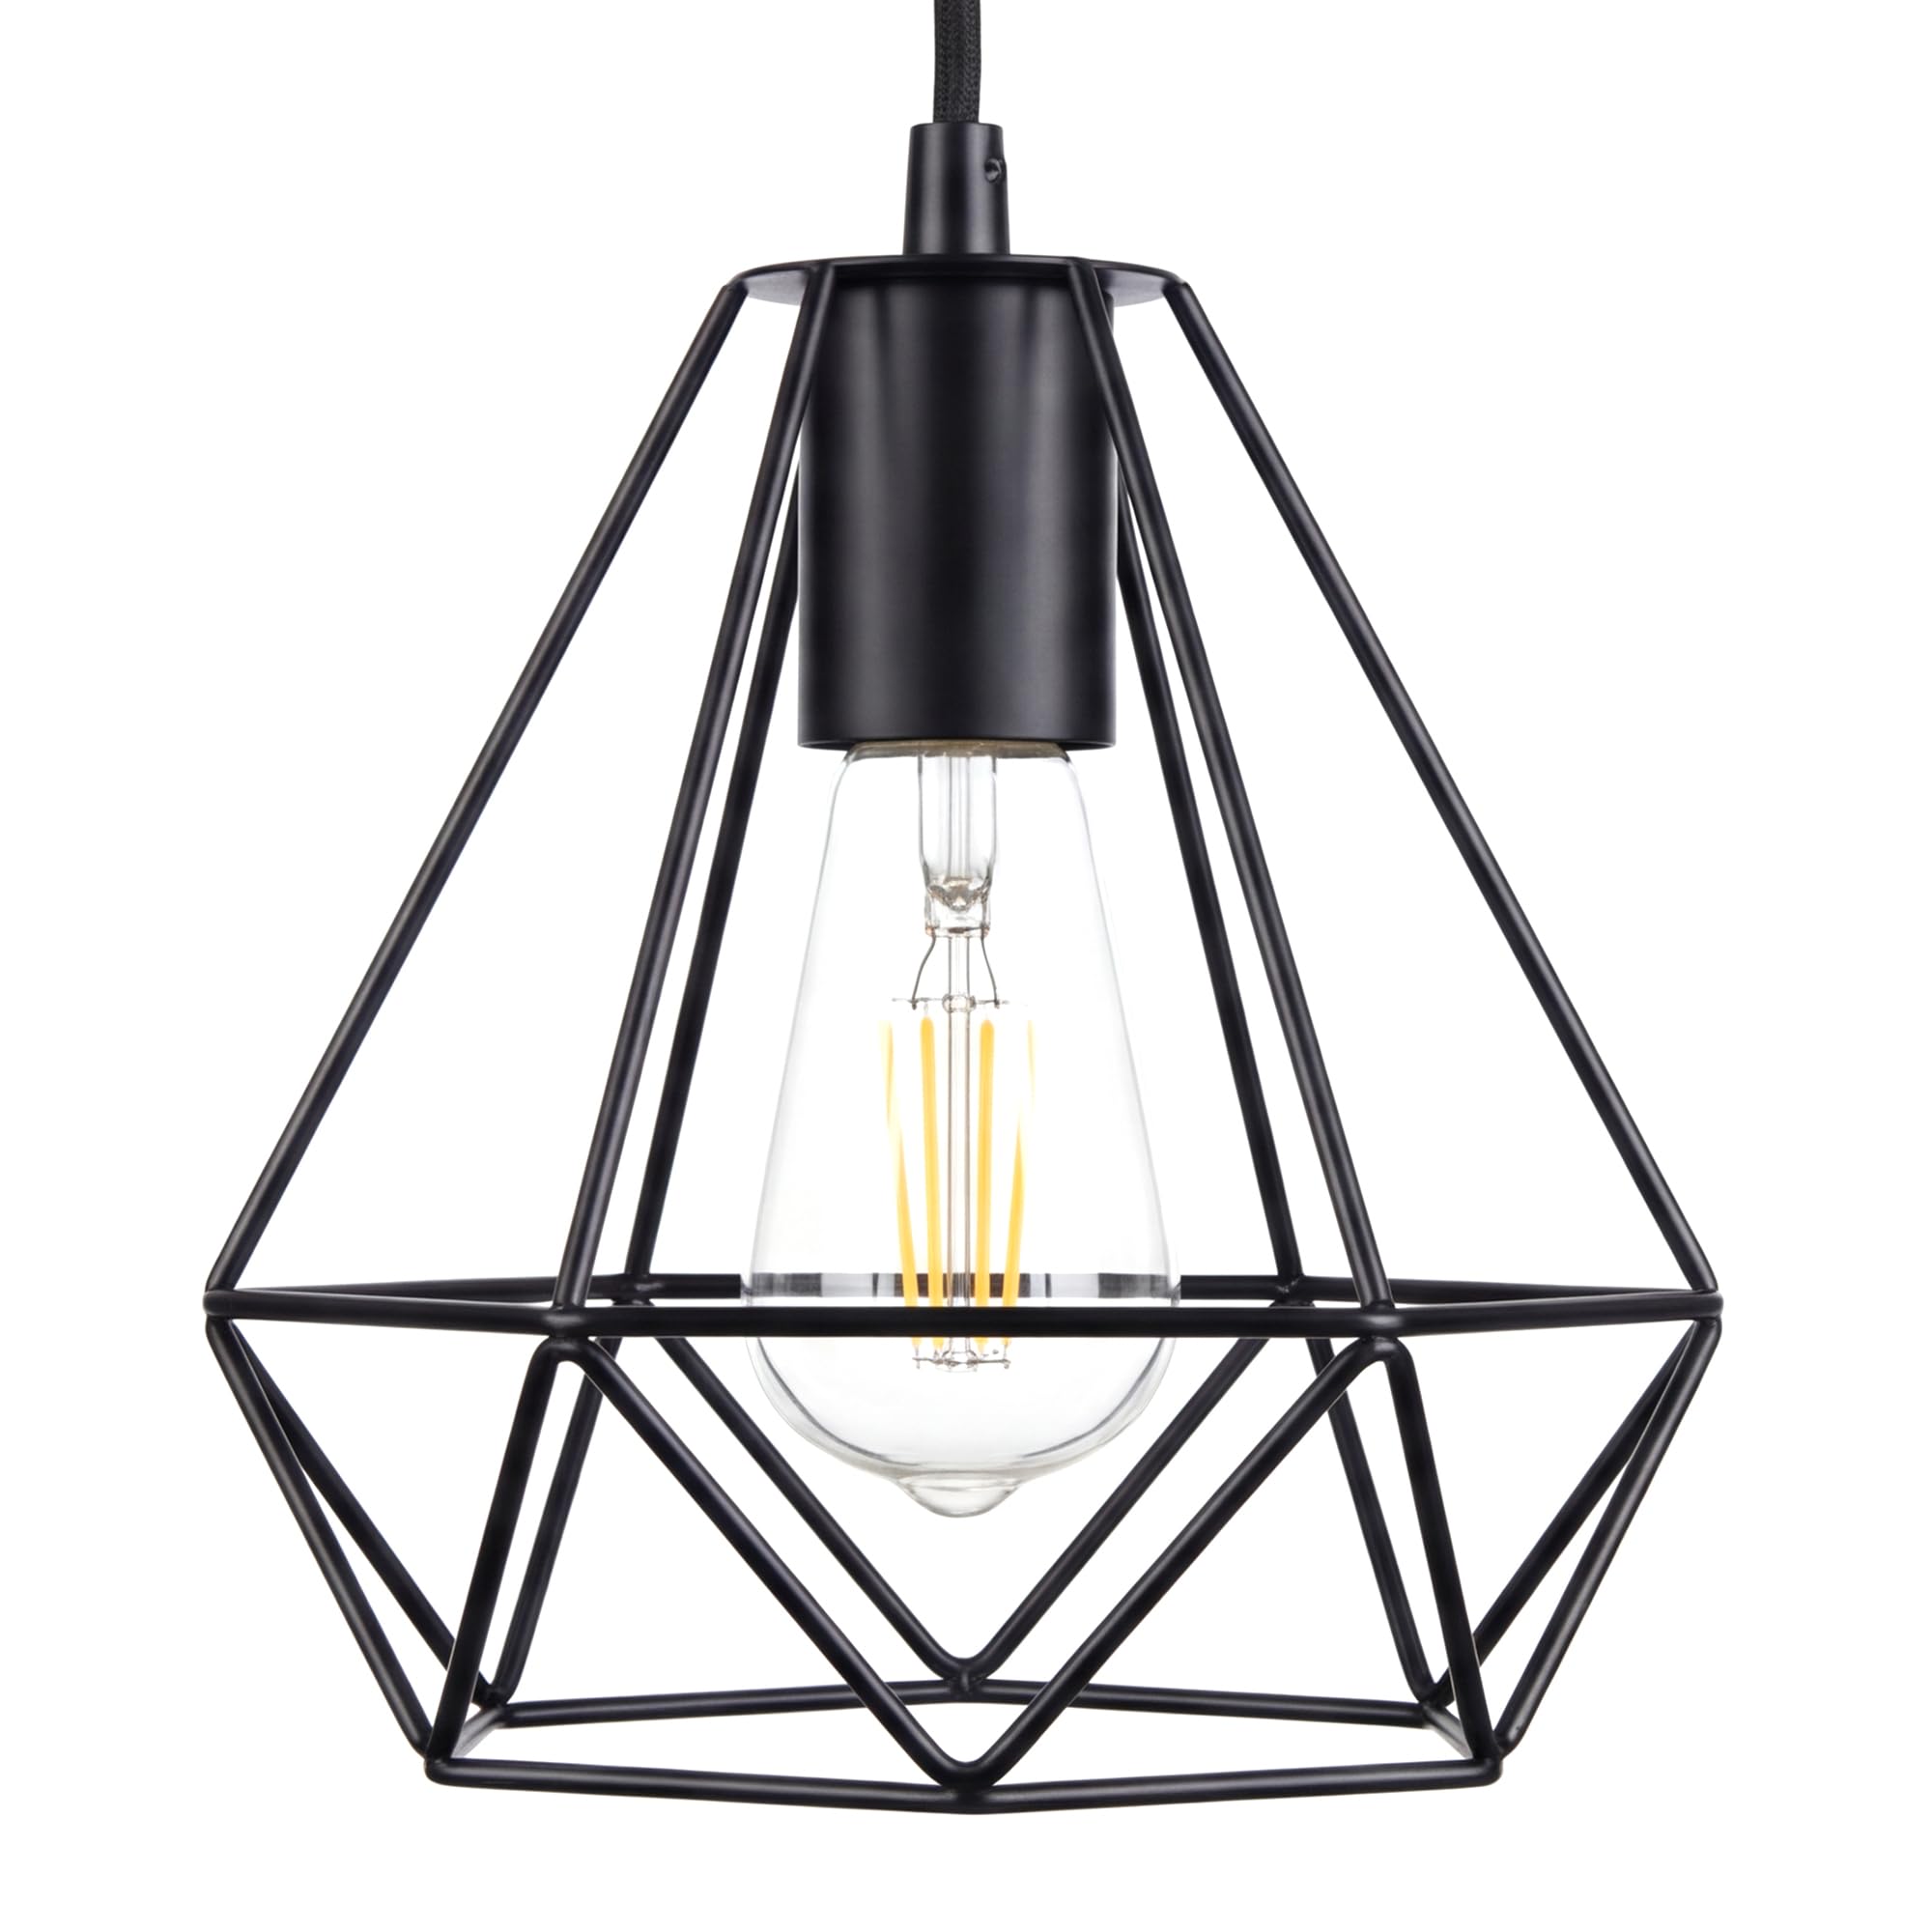 AD
ADGIGGI Black Wire Basket Ceiling Light Shade
£11.04
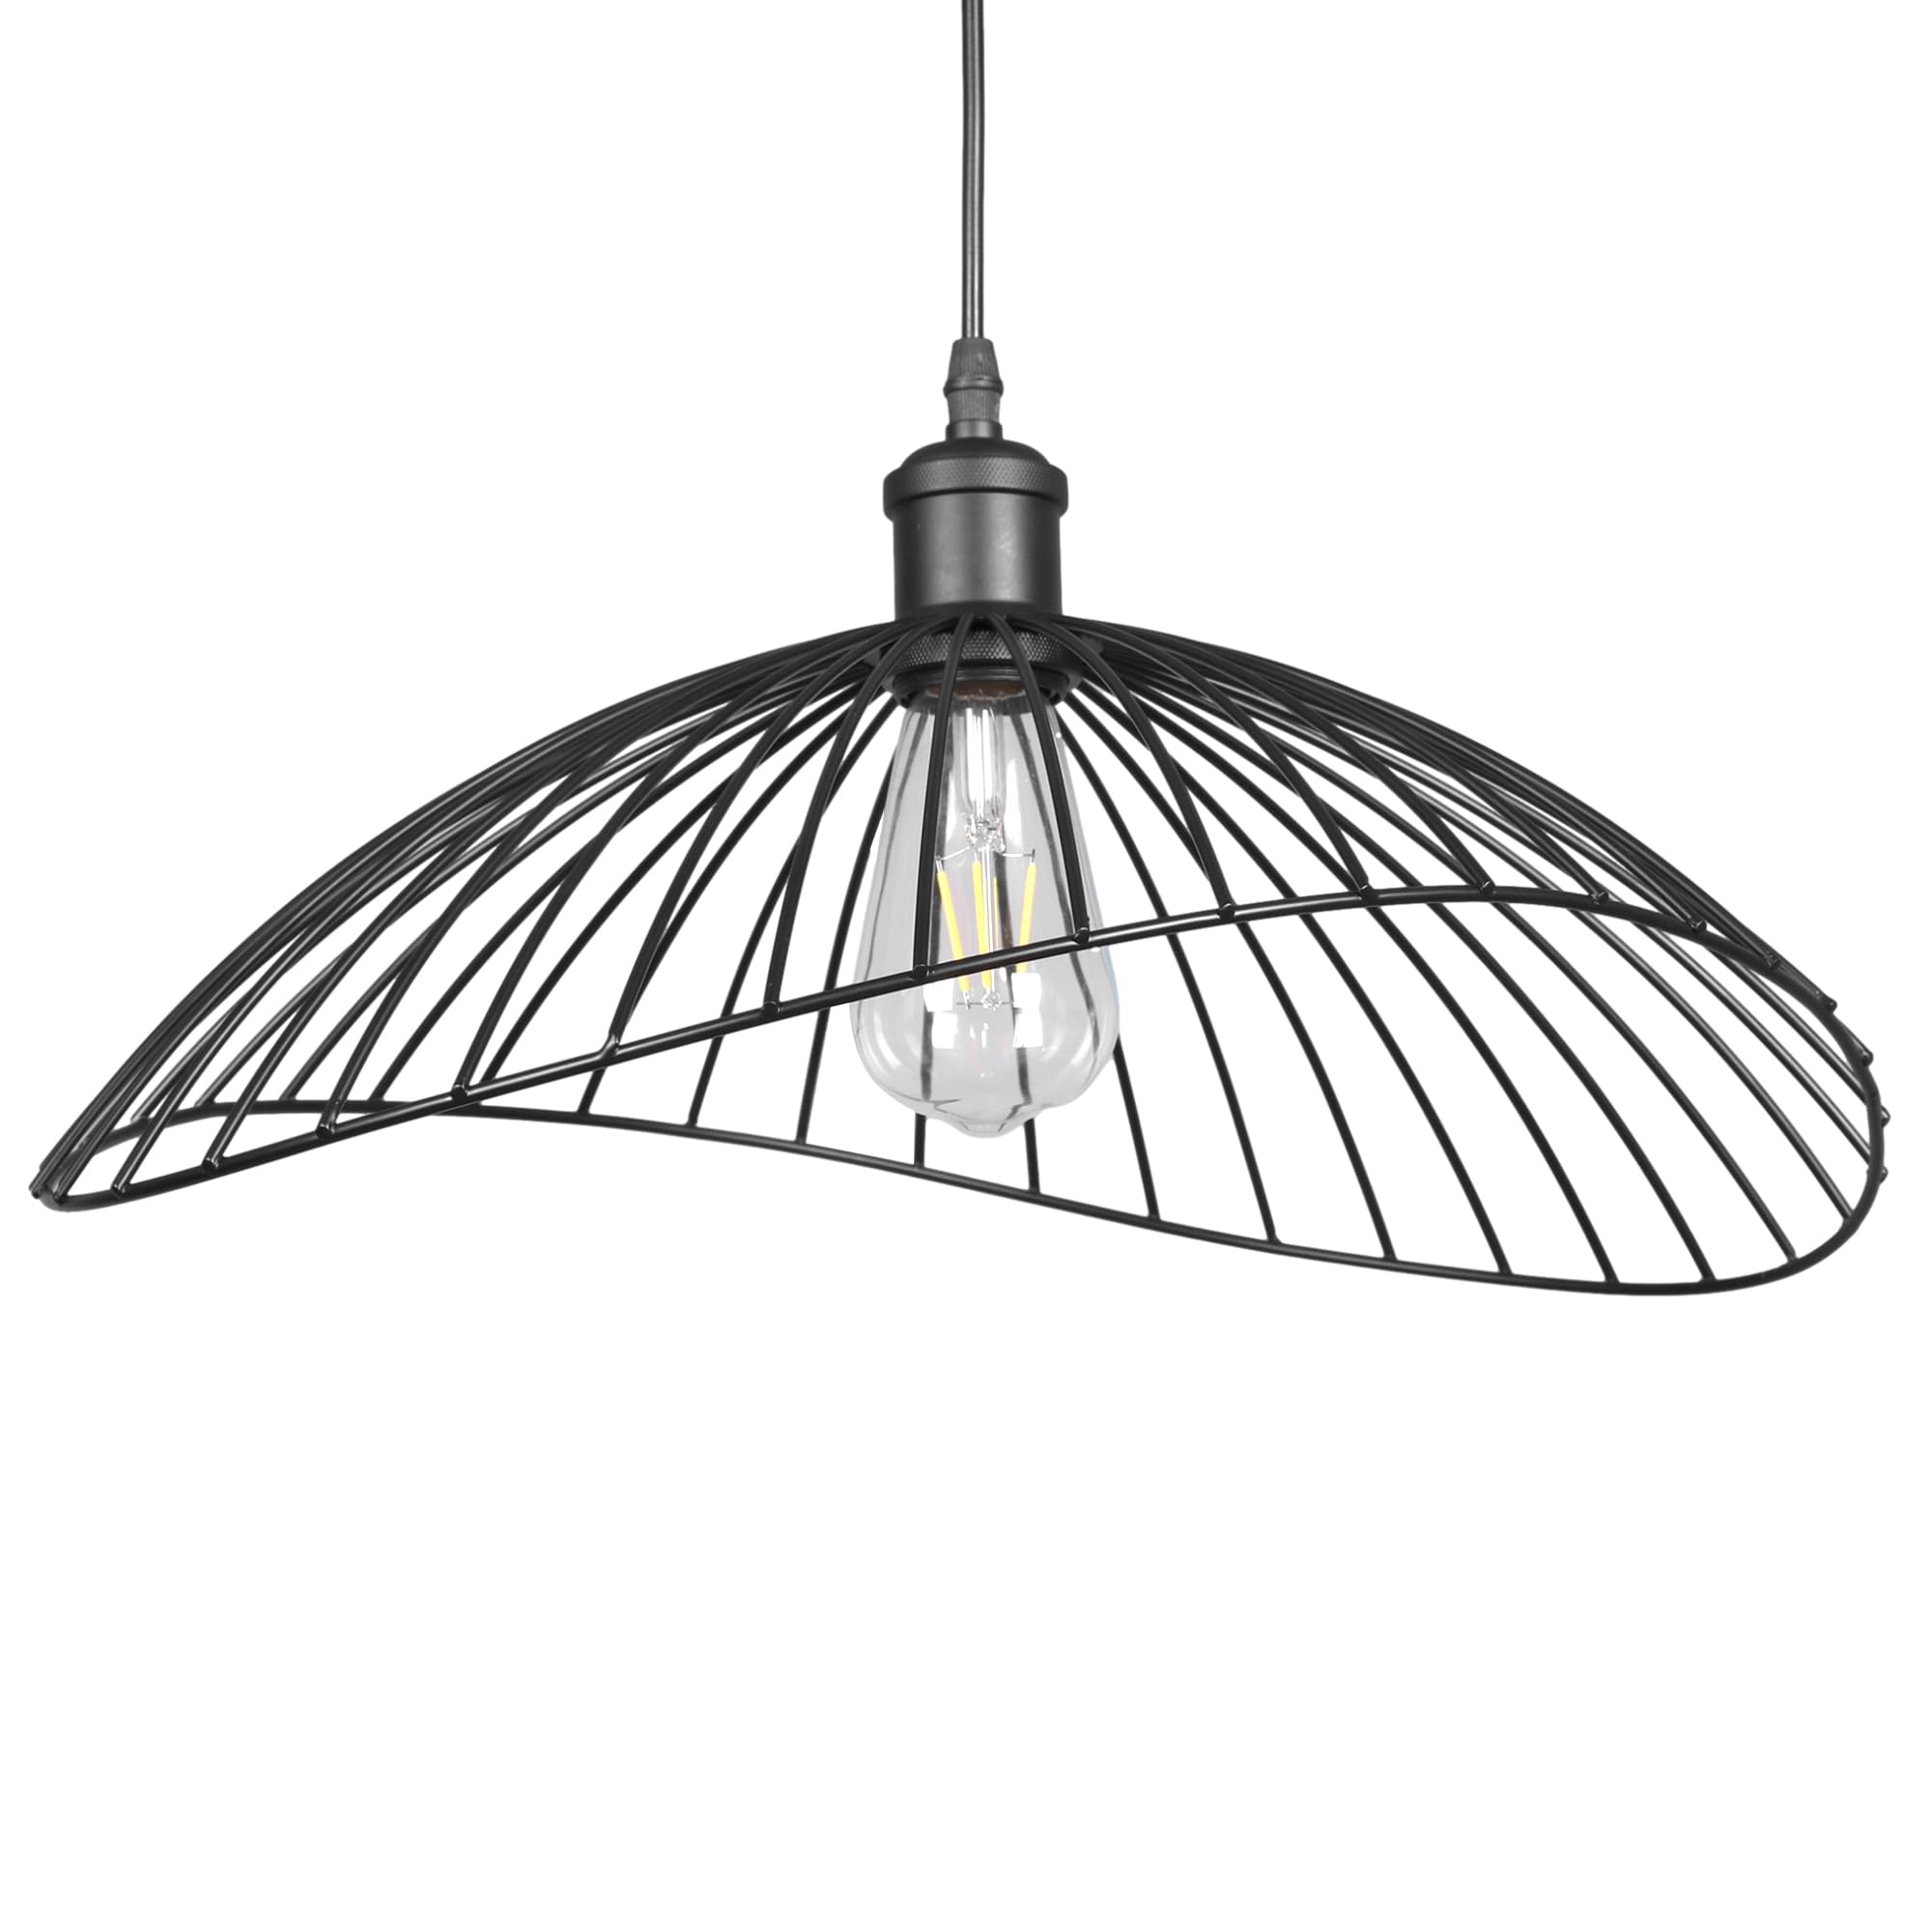 AD
ADGIGGI Wavy Wire Black Ceiling Light Shade
£18.99
As an Amazon Associate, MyNewHomeHub earns from qualifying purchases. Prices shown were correct at time of publishing.