
How to Cut In Like a Pro
This one skill is the difference between a DIY paint job and a professional one.
5 min readWhat is cutting in?
Cutting in is the technique of painting a clean, straight line where two surfaces meet — where the wall meets the ceiling, where one colour meets another, or where the wall meets a door frame. It's done with a brush (not a roller) and it's the single most important painting skill to master. A beautifully cut-in room looks professional. A badly cut-in room looks amateur, no matter how good the roller work is.
The tools you need
- Angled brush (2 inch): The angled tip lets you paint right up to the edge. Purdy, Harris, or Wooster are all excellent. Spend £8-£15 — a cheap brush makes cutting in ten times harder.
- Paint kettle or small container: Don't dip directly from the tin. Pour a small amount into a separate container so you can control how much paint is on the brush.
- Clean rag or kitchen roll: For wiping mistakes quickly.
- Step ladder: You need to be at a comfortable height — stretching while cutting in is a recipe for wobbly lines.
- Good lighting: A work light angled at the wall shows up imperfections and helps you see exactly where you're painting.
Step by step technique
- Load the brush correctly. Dip about a third of the bristles into the paint. Tap gently on the side of the container — don't wipe across the rim. You want a good amount of paint, not a dry brush.
- Start 2-3cm away from the edge. Place the brush on the wall slightly away from where you want the line. This lets you establish control before moving towards the edge.
- Angle the brush. Tilt the brush at about 45 degrees so the longest bristles lead. Apply gentle, even pressure.
- Glide towards the edge. Slowly push the brush towards the ceiling line (or frame), letting the paint flow into the corner. The bristles will fan out slightly, creating a clean line.
- Maintain steady pressure. Don't push harder as you get closer to the edge — let the brush do the work. Consistent pressure = consistent line.
- Work in 30-50cm sections. Cut in a manageable section, then feather the end by lifting the brush gradually. Reload and start the next section, overlapping slightly with the wet edge.
The ceiling line
The ceiling line is the hardest and most visible cutting in job. In a new build, the junction between wall and ceiling is usually sharp and clean — which is great because there's a clear edge to follow.
Key tip: Paint the ceiling first (if you're doing both). Then cut in the wall colour against the dry ceiling. It's much easier to cut a coloured wall against a white ceiling than the other way around.
If the ceiling isn't perfectly straight (rare in new builds but it happens): follow the ceiling line rather than trying to create a perfectly horizontal line. The eye follows the ceiling, not a spirit level.
Masking tape vs freehand
Freehand: Faster, looks better (no paint bleed under the tape), and once you've practised, it's the superior method. Professional decorators almost never use tape for cutting in. The key is practice — do a few metres on a less visible wall first.
Masking tape: Gives confidence to beginners but has drawbacks. Paint can bleed under the edge (especially on textured surfaces), and removing the tape can pull off fresh paint if you wait too long. If you do use tape, remove it while the paint is still slightly tacky — not bone dry.
Our advice: Learn freehand. Spend 20 minutes practising on the inside of a cupboard or a wall that will be behind furniture. You'll be surprised how quickly you get the feel for it.
Common mistakes
- Too little paint on the brush — a dry brush drags and skips, creating a rough line. Load it generously.
- Going too fast — slow and steady wins. Rushing leads to wobbles.
- Pressing too hard — this splays the bristles and pushes paint beyond where you want it. Light, even pressure.
- Not feathering the edges — where your cut-in meets the roller area, the transition should be seamless. Feather the brush strokes so there's no hard line.
- Painting over a dry edge — always work into a wet edge. If the paint has dried, you'll get a visible lap mark.
Not sure how much paint you need?
Our free paint calculator works out exact quantities and tin sizes for any room. Enter your dimensions and get the right amount first time - no maths, no waste.
Want a professional finish?
Post a job for free and get quotes from trusted local decorators near you.
Post a Job — FreeRecommended Products
 AD
ADFrenchic Lazy Range Chalk Paint Loof 250ml
★★★★★4.6
£14.85
 AD
ADFrogTape Multi-Surface Masking Tape 24mm
★★★★★4.7
£8.00
 AD
ADSnewvie Grey Geometric Wallpaper
★★★★★4.5
£4.59
 AD
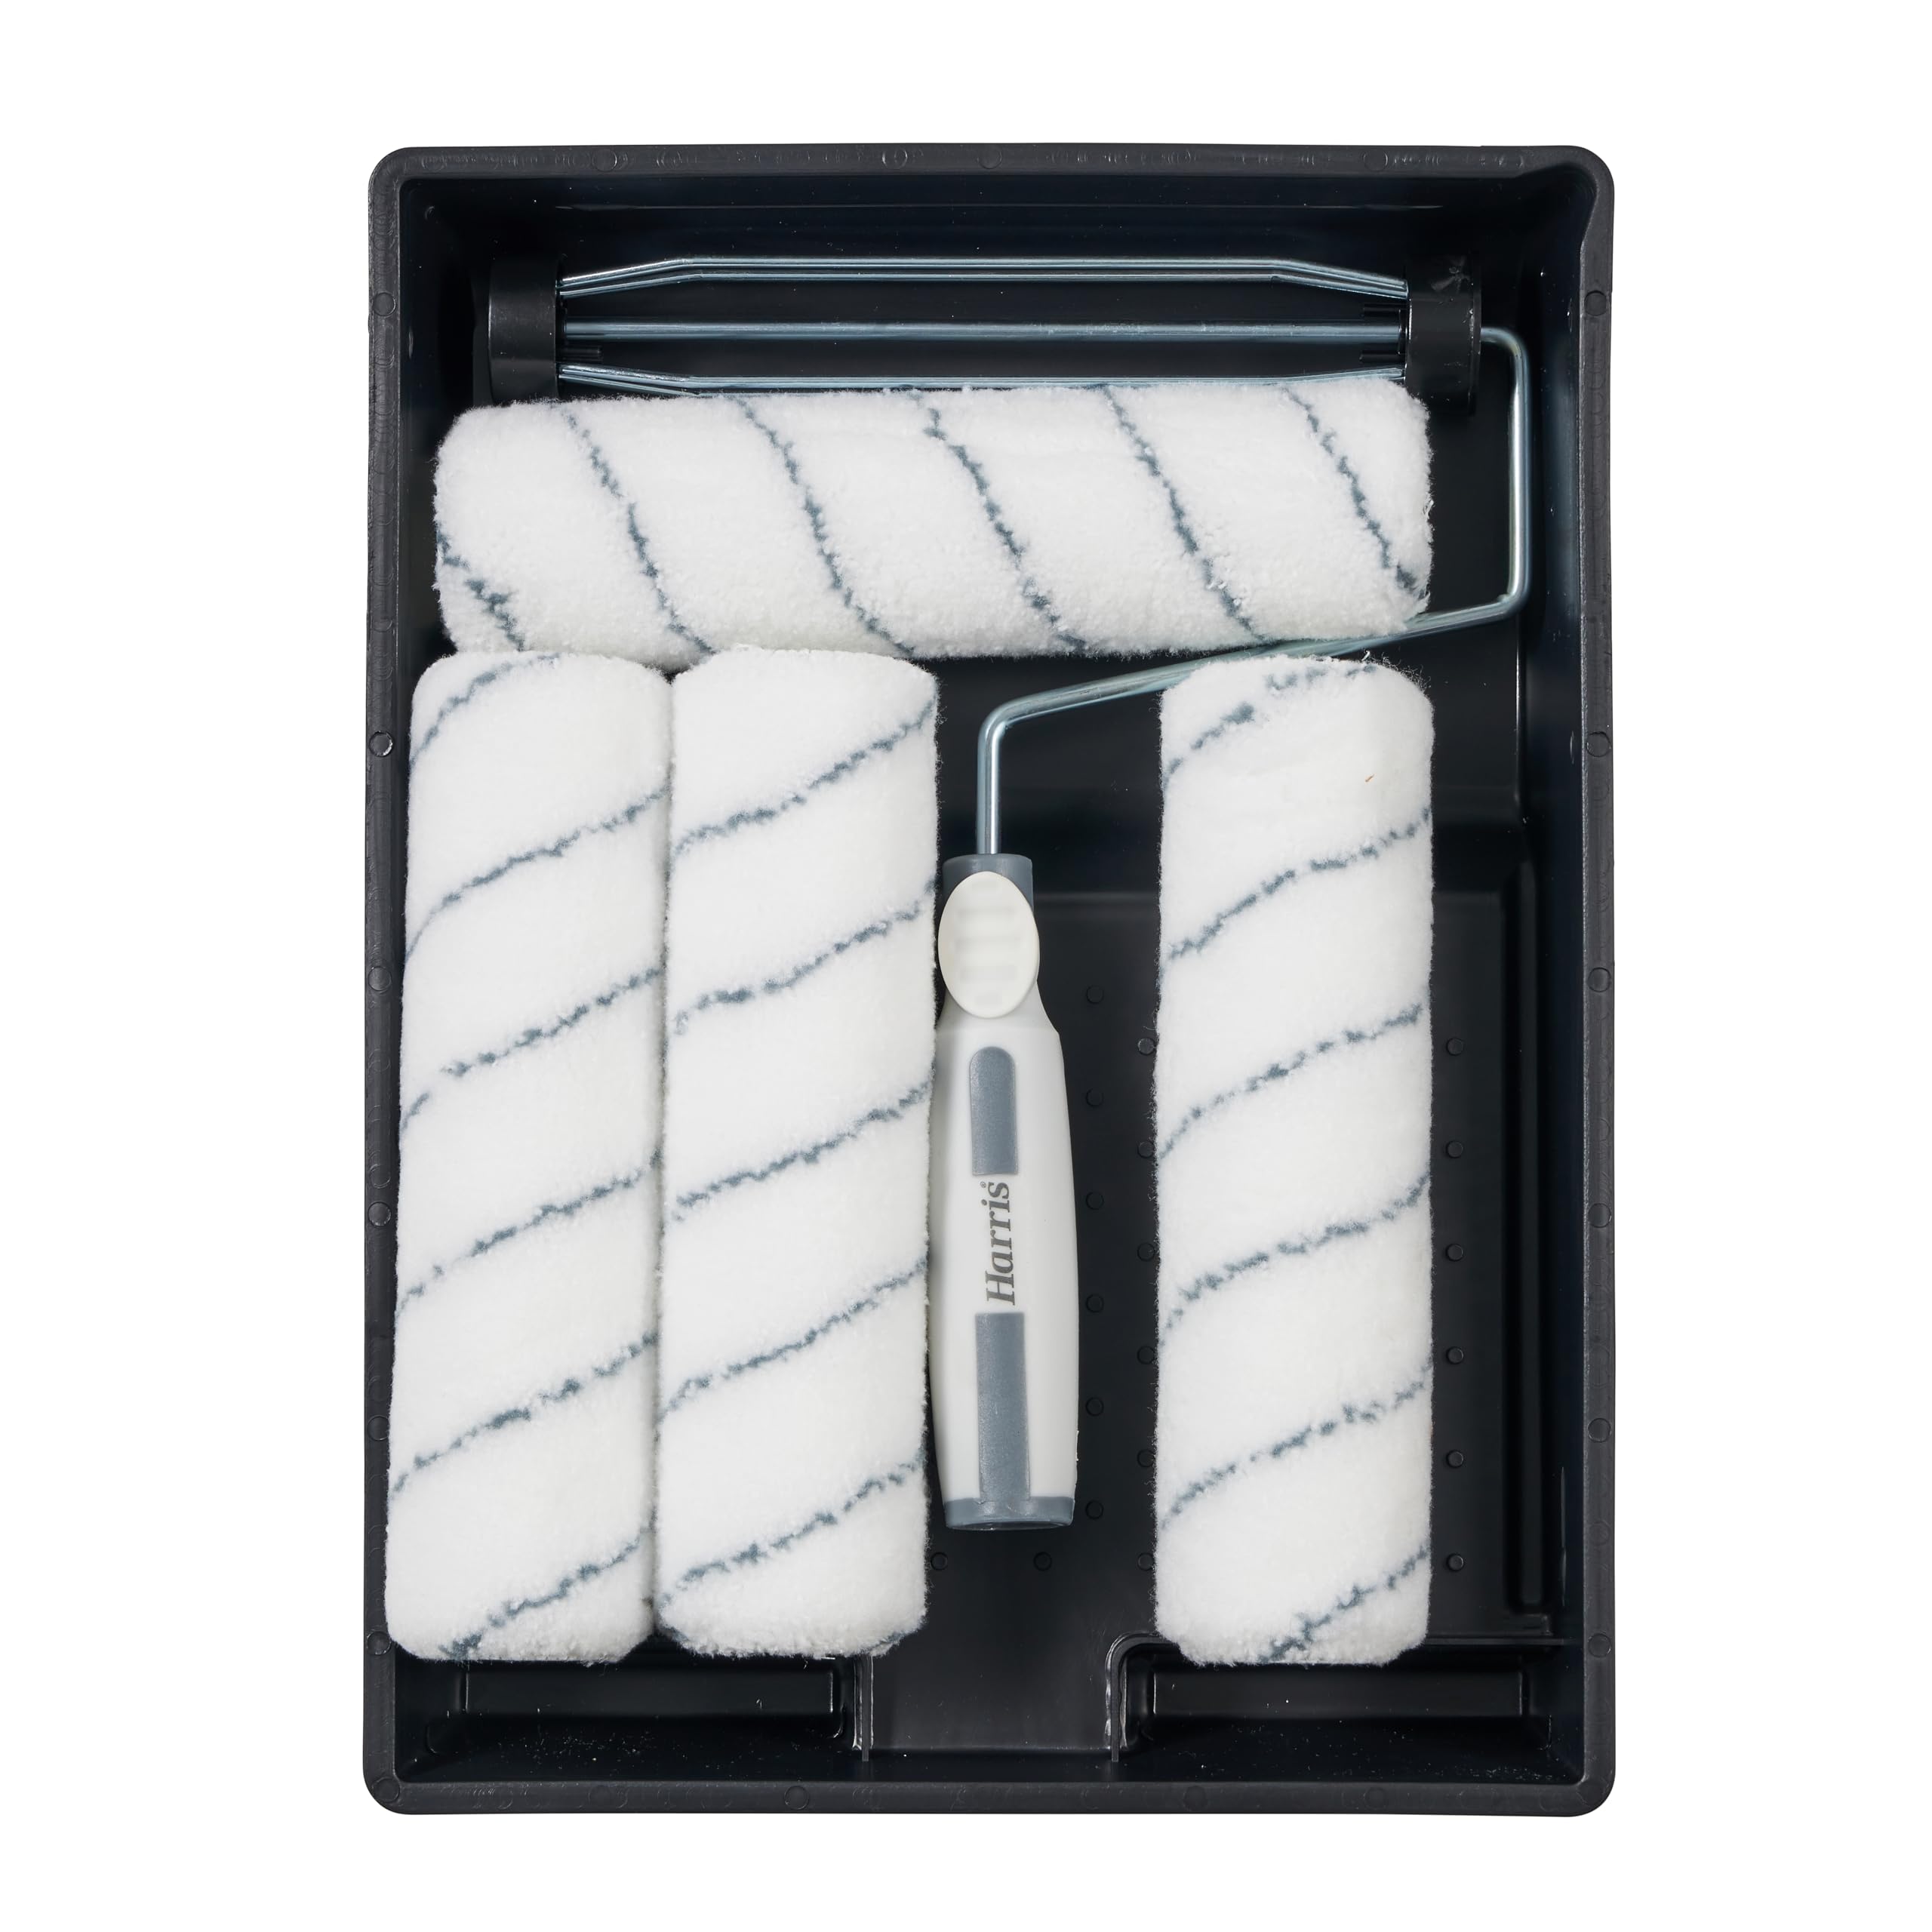
ADHarris Seriously Good Roller Set 9 inch
★★★★★4.6
£9.79
 AD
ADShaker Wall Panelling Kit MDF + Adhesive
★★★★★4.6
£23.00
 AD
ADDulux Easycare Polished Pebble 5L
★★★★★4.6
£29.37
As an Amazon Associate, MyNewHomeHub earns from qualifying purchases. Prices shown were correct at time of publishing.